
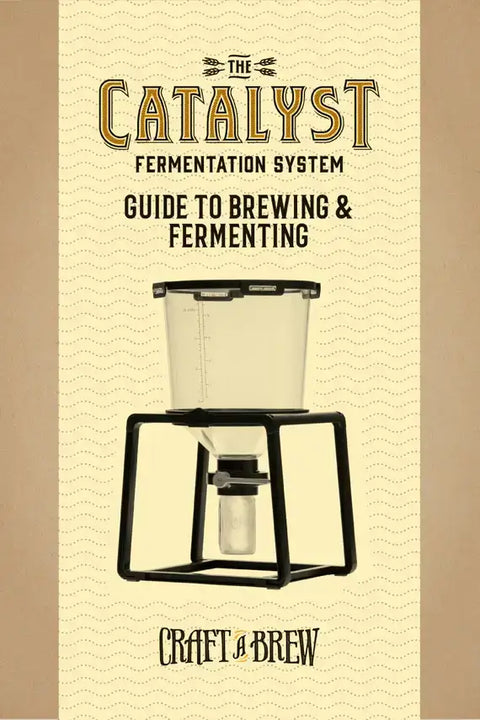
The Catalyst Fermentation System - FAQ
Looking for Catalyst frequently asked questions? We’ve got answers for you! Whether you’re curious about dry hopping, harvesting yeast or temperature control, we’ve got you covered. We’ve compiled years of Catalyst frequently asked questions in one convenient place. Don’t see your question answered here? Email us at support at craftabrew.com for help.
Make sure your valve is installed right-side-up. The handle should crank DOWNWARD to OPEN the gasket and should be horizontal when the valve is closed. The writing on the valve will also help determine the correct way to install.
To ensure the best lid seal, first put the lid on without clasping the latches, ensuring everything lines up. Then, press down to seat the seal. Close each latch in an “X” pattern - close one, then the one across from it, rather than going around in a circle clasping them shut.
Do not overtighten the mason jar or the bottling funnel, otherwise you may experience cross-threading OR may find it more difficult to unscrew these parts.
BALL VALVE TIPS re: making work with cover
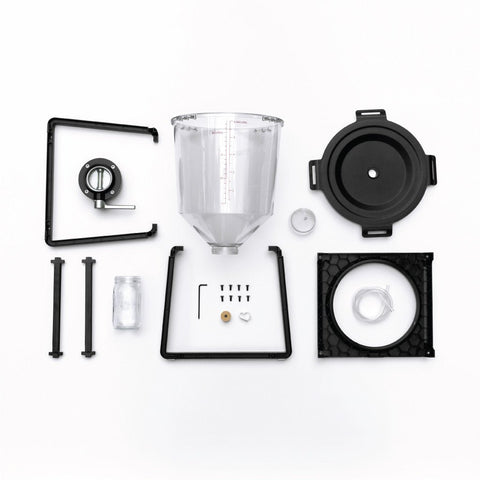
Catalyst components are available a la cart! If you find yourself needing a new lid, new gasket, tank, etc., you can purchase the individual parts you need HERE.
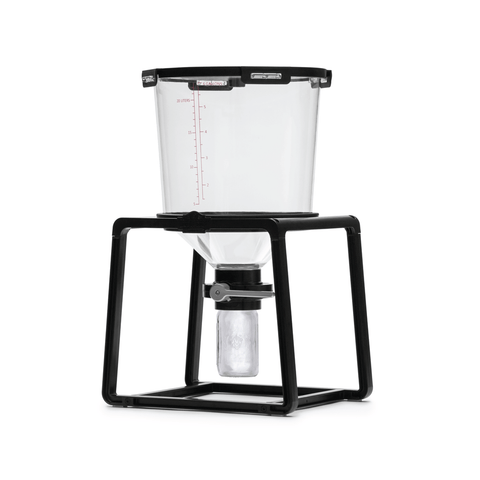
General Product Questions & Specs
With a standard airlock installed in the lid the total height = 30”
While the Catalyst was designed with 5 gallon batches in mind, you can use the system to brew smaller batches. 1 gallon batches - like our $15 beer recipe kits - are a bit too small for the system because a significant amount of the wort would rest in the attached mason jar. 2 gallon batches or larger are totally do-able.
If fermenting a smaller volume in the system, you may find that a smaller volume mason jar is plenty to collect & remove trub (without losing unwanted volume). Additionally - whenever making wine, hard cider, mead or other non-beer fermentations in the Catalyst, you’ll observe a lot less sediment than when you ferment beer. So an8oz mason jarmay be all you need to collect sediment!
Fermentation Questions & Tips
Overactive foaming and bubbling can occur when fermenting, we recommend trying to cool down your fermentation temperature and making a “blow off setup” where the tubing is inserted into the stopper and the other end of the tubing is inserted into a half full glass of water. This will allow foam and CO2 to escape and any foam will be captured in the glass.
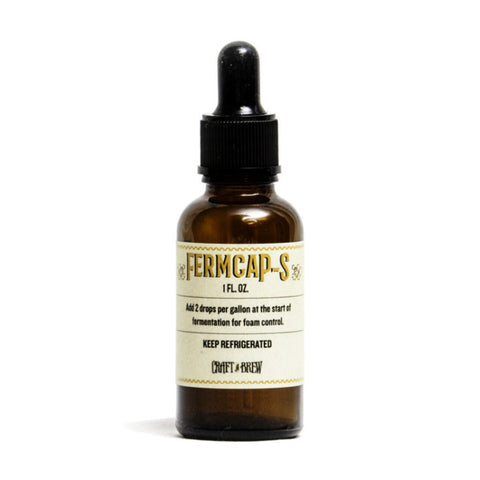
Another solution for overactive fermentation is Fermcap-S, an anti-foam solution that helps settle foam and eliminate messy blow-off. We recommend this for any large volume fermentations in the Catalyst to keep foamy at bay.
To prevent unwanted volume loss we suggest that you account for sediment removal when adding the wort to the tank. For example: we brew 5 gallon batches, but typically add enough water to the fermenter to reach 5.25 - 5.5 gallons to account for loss of liquid with sediment/mason jar removals throughout fermentation.
You can simply remove the stopper and drop the hop pellets into the fermenter - just make sure you have enough volume in the attached mason jar to allow them to settle out. A 24 oz or 32 oz jar may do the trick. For instance, we’ve dry hopped with 8 oz of pellets which fully filled up the 16oz jar and required multiple dumps before bottling.
If you are planning on using a large amount of pellet hops, we’d recommend putting them in a nylon or muslin bag to keep them from dropping out into the mason jar. We have not experienced any clogging of the valve with dry hopping in the Catalyst. Some brewers will use fishing line or thin string - one end tied to the bag and the other end strung through the rubber stopper hole or even along the lid rim.
You can also add dry hops via the mason jar if a trub dump aligns with your dry hopping schedule. This would only be recommended once the bulk of primary fermentation is done to make sure that the trub does not cover up the hops.
Wait until after primary fermentation is complete. At this time you will close the valve, dump your jar, sanitize, reattach the 16 oz jar or use a smaller (8 oz) jar and reopen your valve. Over the remainder of your fermentation and aging, yeast will slowly settle into the jar. At bottling time you can loosely cover the jar and store it in the fridge for later use. Use harvested yeast within 2 weeks for best results. Harvested yeast can be reused up to 3 times.
Mason Jar Tips & Timing
Leave the Trub Trap valve open during fermentation to allow sediment to collect and compact in the attached mason jar. Wait at least 10 days of fermentation before removing your trub. It may be tempting to dump the jar as soon as it appears to be full, but patience is key to saving precious beer. Sediment falls VERY slowly and compacts on itself over time. A seemingly full mason jar can be deceiving. We’ve seen a full 16 oz jar of trub (after 5 days of fermentation) condense down to a half-full jar (after 10 days of fermentation).
Collect pre-fermentation trub BEFORE pitching your yeast if you did not separate your hops during the boil. To cut down on the number of mason jar removals/trub dumps (and to save precious beer) we recommend waiting a few hours before pitching yeast to allow pre-fermentation trub to settle and collect in the jar. This typically makes up a large portion of the sediment collected during the process and removing it before adding yeast can help curb the number of jar dumps. Larger volume mason jars can also help, but time is the biggest factor. We’d recommend waiting 10 days before removing your first jar of sediment during fermentation.
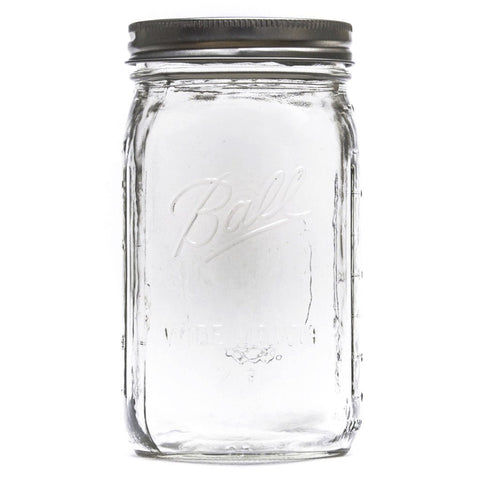
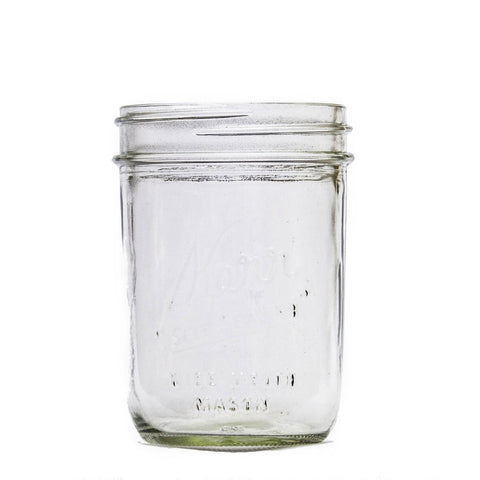
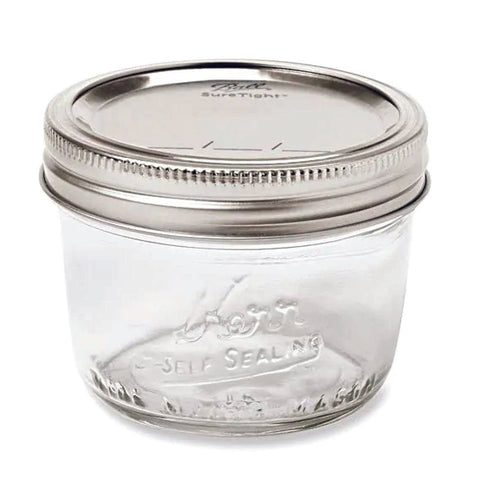
Use the right volume mason jar for the job. Depending on the volume of beer you’re fermenting or the type of beverage you’re fermenting, choose the right mason jar for the job. The butterfly valve’s compatible with any volume wide-mouth mason jar. You can use a smaller 8 oz mason jar for yeast harvesting or whenever fermenting small volume beers or ciders. The system comes with a 16 oz mason jar that’s suitable for many 5 gallon beers. You can try a 24 or 32 oz mason jar if you anticipate a lot of sediment or plan to use a generous dose of hops.
Bottling / Kegging
You can create a priming sugar solution and add it directly to the tank from the top. Be sure to close the valve & remove the jar of trub before you do so. Otherwise, you can mix all the settled sediment back into the beer.
If you prefer using carbonation drops {LINK}, you can use those instead of priming sugar
Personally, we prefer the priming sugar method because this 'simple syrup' is evenly distributed among the batch of beer for consistent carbonation across all the bottles. Carbonation drops or "fizz tabs" can sometimes yield inconsistent sugar content, but should still get the job done. We also find that using our own white table sugar saves money, since carbonation drops are essentially like sugar-based hard candies. So you can save some $5+ on a bag and use sugar you have at home!
Sanitizing & Clean Up
As with all homebrewing equipment, we recommend rinsing & cleansing equipment as soon as your beer’s bottled and the equipment’s emptied. This will help remove any debris or smell before sanitizing & storing between batches. Acting quickly helps prevent any discoloration, hardening of sediment or lingering smells.Only the tank, formed from heat resistant Tritan polymer, is dishwasher safe. Simply remove the top rack of your dishwasher & place the tank on the bottom rack. Other components, like the lid, gaskets, valve, are not dishwasher safe and should be sanitized by hand.
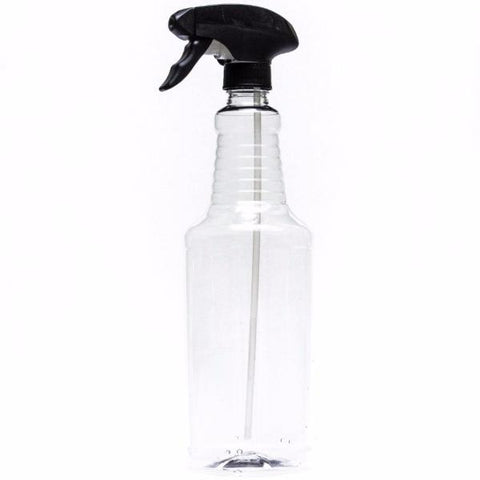
We recommend soaking the butterfly valve, seals & other small components in a cleanser like PBW (Powdered Brewery Wash) + warm water. Then, follow that up with a soak in a sanitizing solution - we like StarSan best. Try filling a spray bottle with sanitizing solution to maximize your surface area with less effort!
Soaking the entire valve assembly in a brewery wash, then cleanser helps get into the nooks and crannies without harsh scrubbing or harsh cleaners. This also helps keep the gaskets clean, soft and free of lingering beer scent.
The tank is dishwasher safe, but can be easily sanitized using a spray bottle of sanitizing solution. This helps you cover every inch of the tank without having to actually soak or submerge it in sanitizer.
Accessory Questions
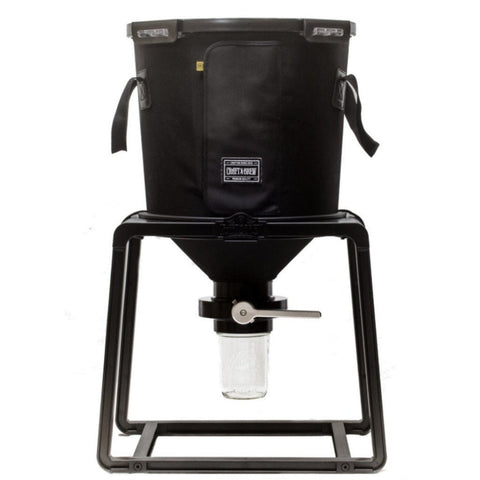
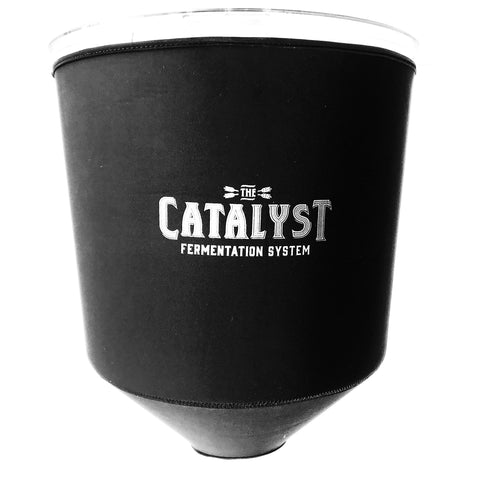
The neoprene cover for the Catalyst & the cover/carrier for the fermenter do not feature a hole for the ball valve. But if you want the port to be positioned along the conical portion of the tank you can modify either cover to accommodate. This can easily be done with an X-ACTO knife, making an X in the fabric where you want the port to fit. We suggest putting the cover on the tank first, then marking with chalk or a pencil where you want the port to be positioned.
If you do not want to modify the carrier cover, you can install the sample port in a higher position on the tank so the view flap and the port line up. This will allow you to sample beer throughout fermentation, but if you want to rack your beer from the tank (for bottling or kegging) rather than use the bottling attachment, this higher placement may not be ideal.
Although Tritan is extremely durable and very scratch resistant, drilling into it for the sample port is a breeze! We’ve found the best tool to use is a 5/8” spade drill bit. We'd recommend initially drilling slow until the wings have 'crossed the threshold.' Then you can speed it up!
Watch our installation how-to video HERE, scroll toward the bottom of the page.
If you’re still stumped or don’t see your question answered above - email us at support@craftabrew.com. Don’t dump anything until we’ve connected. Including photos in your email will help us help you more efficiently.
Catalyst Accessories

If you’re still stumped or don’t see your question answered above - email us at support@craftabrew.com. Don’t dump anything until we’ve connected. Including photos in your email will help us help you more efficiently.
