
Making Mead - FAQ
Looking for Mead frequently asked questions? We’ve got your answer right here! Are you curious about your honey wine’s clarity? Wondering how you can customize the flavor or add fruit? Our Mead frequently asked questions cover our most popular topics. If you don’t see an answer to your question here, contact us at support at craftabrew.com & we’ll be glad to help!
While your mead can be bottled & enjoyed after 30 days of fermentation, its flavors will really shine when aged longer. Additional aging allows flavors to mature, refine and become more complex.Feel free to sneak a taste on bottling day, but know that the flavors will only continue to improve with aging. Go ahead and set bottles aside with different aging timelines.For example:
- Let 1+ bottles age for 30 days in the bottles before drinking.
- Let 1+ bottles age for 3 months in bottles before drinking.
- Let 1+ bottles age for 6 months in bottles before drinking.
- Let 1+ bottles age for 1 year in bottles before drinking.
- Let 1+ bottles age for 2 years in bottles before drinking.
Many mead makers swear by aging bottles longer than a year. We know it can be hard to be patient, but once you sip your first long-term aged mead, you’ll see WHY people do it. It's absolutely worth it. Be sure to keep a mead journal & take notes with each tasting to track the flavor development. These notes will help you plan your next batch and determine the best timeline for your palate.
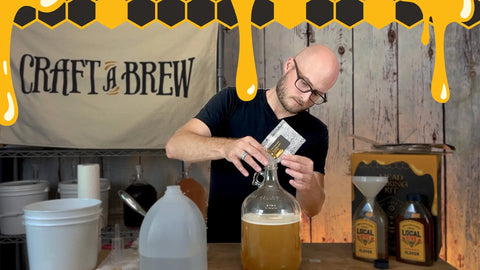
Once the yeast is pitched (added) to the fermenter, it’ll hydrate and begin fermenting on its own. No additional mixing or swirling is necessary.
All of the mixing and shaking that’s done to dissolve the honey prior helps aerate & oxygenate the must, which gives the yeast a healthy environment to begin fermentation.
Any honey variety is suitable for making mead. We suggest using a trusted supplier or exploring a farmers market for local varieties. The honey should be 100% natural for best results. Mead is THE foundation and main source of flavor in your mead. We’d suggest tasting a few varieties to get an idea of your favorite type of honey. With a wide range of flavors from citrusy Orange Blossom honey to marshmallow-y Meadowfoam honey, you can create a wildly different honey every time. Here’s what you can expect from a few of our favorite varieties:Honey is named for the flower the nectar was collected from (thanks to bees)! We recommend using 100% natural honey for the best results. Here’s what you can expect from a few of our favorite varieties:
- CLOVER: classic & widely available, this honey is sweet with a gentle tangy aftertaste.
- ORANGE BLOSSOM: floral, fruity & citrusy. This variety is best sourced from a reputable supplier or local farm, as it can often be artificially flavored.
- BUCKWHEAT: dark, strong, earthy & slightly spicy. Best used in combination with another variety of honey for balance.
- TUPLEO: floral, often sweeter & more “buttery” than other honey varieties.
- WILDFLOWER: flavors vary in each region & season. This is the name given to honey made from nectar of multiple flowers (or when the bees’ diet is unknown). No two batches are alike.
- MEADOWFOAM: tastes like toasted marshmallows and smells like vanilla. Need we say more?
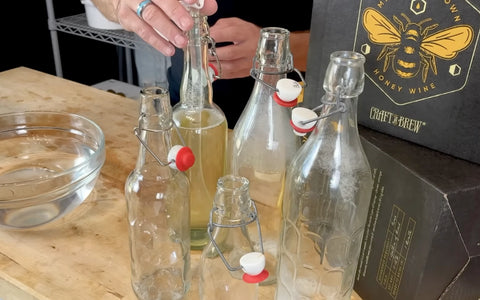
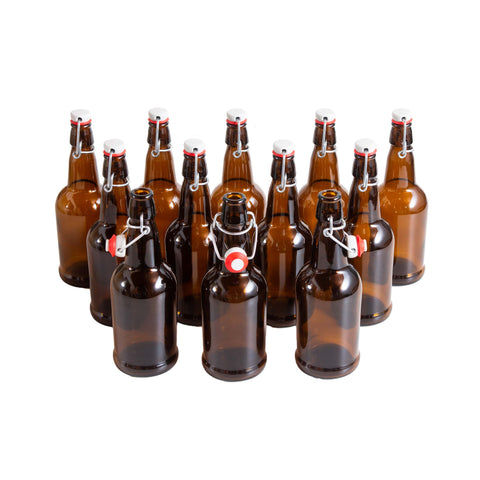
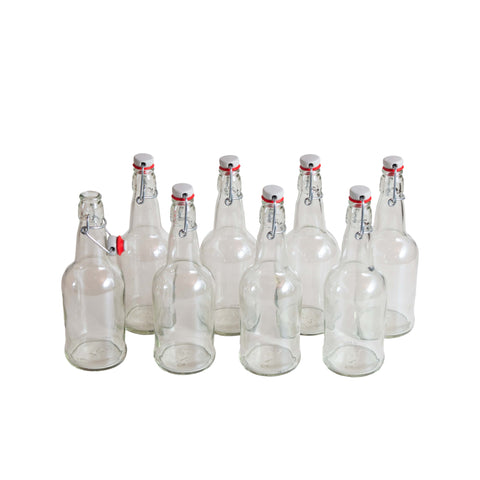
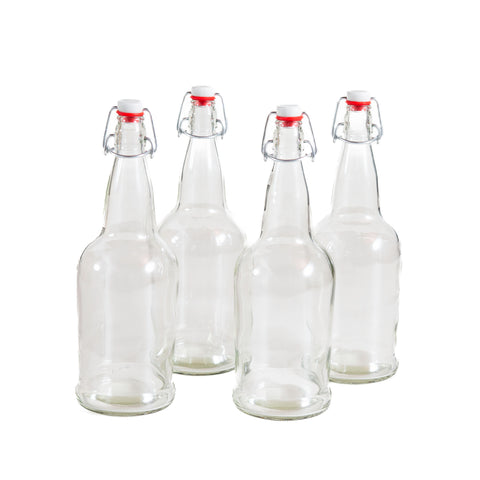
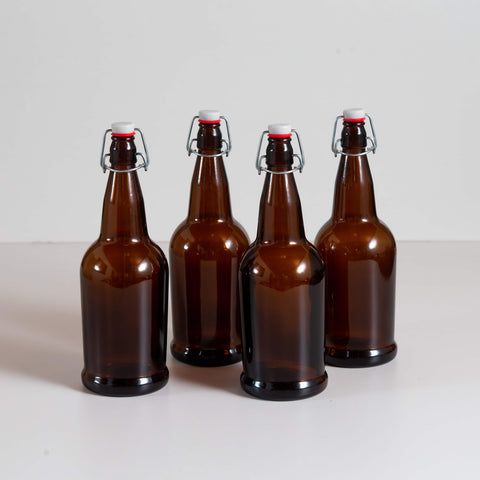
You’ll need roughly ten 12oz bottles (or eight 16oz bottles). We recommend using swing-top bottles, like Grolsch beer bottles. You can always buy a couple of 6 packs and use the empties. OR you can use our Mead Bottling Kit. Swing tops bottles are also available at craft stores or your local homebrew shop.
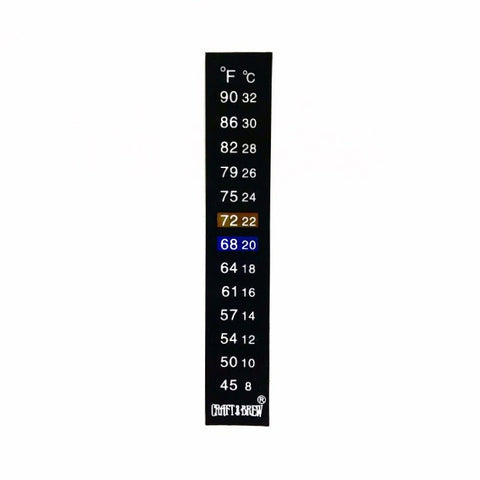
In order to get the best performance from your yeast, it is important to keep the fermentation temperature consistent. The ideal temperature range is between 65° - 73°F. In the winter, these temps are easier to maintain at home. But if the ambient temperature at your house is outside of this range, here are some tips:
To decrease the fermentation temp:
- Find a room in your house where the temperature doesn’t fluctuate much (like a closet). Avoid warm garages.
- Wet a hand towel with cold water and wrap around the carboy.
- Place the carboy in a large cooler or other plastic container. Place a few frozen water bottles or ice packs in the cooler. Replace with new ice packs daily.
To increase the fermentation temp:
- Wrap a dry towel or blanket around the carboy. Fermentation naturally creates some heat, so covering the fermenter can help boost the temperature by about 5°F.
- Place the carboy on a shelf or upstairs (heat rises).
- Avoid cold surfaces (metal, marble, concrete).
- In extreme cases, set the carboy on a heating pad set to low. Always exercise caution when using electronics around liquids - make sure the jug is dry and there are no signs of leaking.
The easiest way to craft crystal clear mead is to use a technique called Cold Crashing. Once the mead is completely finished fermenting (at least 30 days) & ready to bottle, you can use this technique.
Once the mead has fermented for at least 30 days, place the carboy (with airlock installed) in the fridge. It will stay in the fridge for 3-5 days. During this time, the residual yeast that might still be floating around will be drawn to the bottom of the jug. This helps clarify the mead and makes it easier to keep sediment out of your bottles. After 3-5 days in the fridge, take out the carboy and proceed with bottling! Be gentle so you don’t stir up any sediment or mix it back into the mead.
You can also try a fining agent, like SuperKleer! Add to your mead after fermentation is finished & let it clear for 12-48 hours before bottling.
Absolutely! It’s normal for some foam, liquid or solids to escape into the airlock during peak fermentation. This is more likely to happen in warmer temperatures, which increase yeast activity, or if the fermenter is filled beyond the one gallon mark.
During the first few days of fermentation, the yeast is quite active and creates a good amount of foam and CO2, which can push some liquid and foam up into the airlock. You can dump out the contents of the airlock, fill it with fresh water and place it back in to continue fermenting. The brief air exposure while doing this won’t harm the mead.
Not to worry - sulfur-like aroma, especially in the earlier stage of fermentation process, is just a byproduct of the yeast fermenting. Sulphur smell comes from hydrogen sulfide gas, which is produced during peak fermentation and not cause for concern. As the yeast continues fermenting, the aroma should dissipate! We’d simply recommend that you continue degassing per the instruction manual. This technique helps the mead expel CO2, which also will help the hydrogen sulfide gas escape quicker!
A noticeable decrease in fermentation activity (bubbling, foaming, etc.) is to be expected. There will always be much more activity and CO2 buildup at the start of the fermentation, then the activity will taper off over time until all of the sugars are consumed by the yeast. The first addition of nutrients will yield the most foam and fizzing, and the following additions may be slightly less ‘reactive.’ Then fermentation activity will gradually slow down as the yeast continues to ferment the mead, slowing down as its supply of sugar ‘fuel’ is naturally reduced/fermented out.
Continued de-gassing will help keep the yeast active & productive (see step 13 in the instruction manual). As long as you allow the mead to rest undisturbed for 10 days before bottling, you can continue to de-gas your mead daily or every few days. De-gassing can also help expel a lot of CO2 from the mead, so you may see fizzing right after degassing, but the mead may still remain quite calm to the eye. But rest assured that even though you are seeing little to no fizzing & a lot less airlock activity, the yeast is still hard at work on those sugars.
A young mead can taste a bit dry or bitter, but will mature and refine with time. Mead is one of those fermented beverages that slowly and steadily and gets better with time and aging. The hardest part is the wait! Mead can benefit from months or even years aging in bottles.
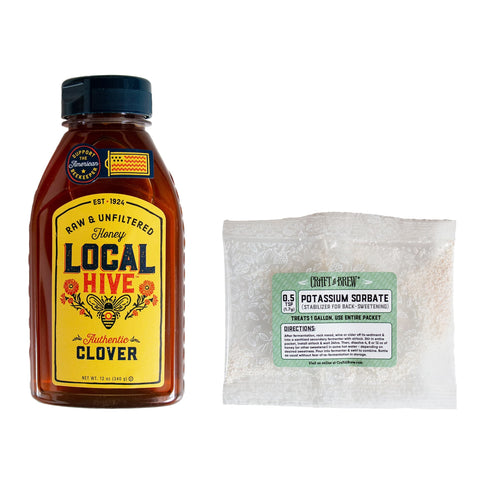
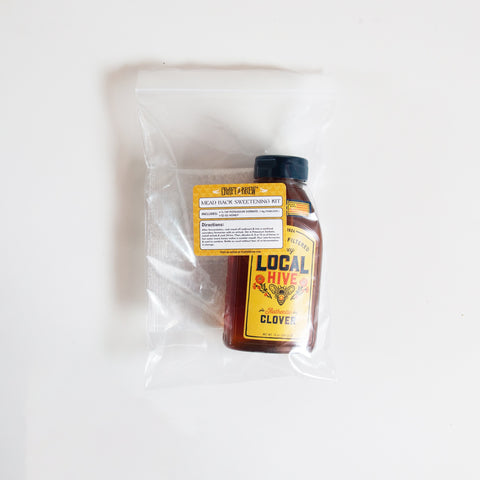
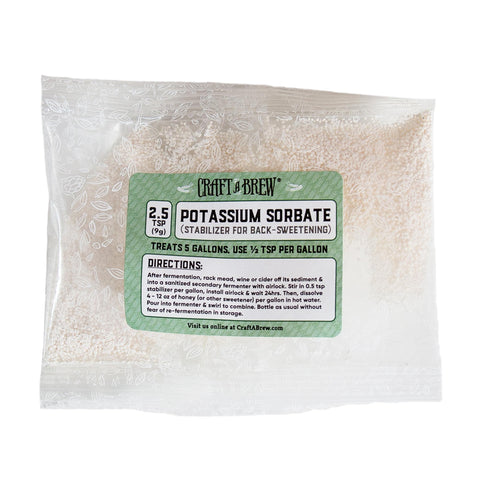
Keep in mind that our kit produces a semi-dry mead, unlike most commercial meads that are back-sweetened before bottling. If you’d prefer a sweeter mead we’d recommend a process called back sweetening, which can be done once fermentation is complete. A stabilizing solution is added to the mead to stop yeast from reproducing. Then, more honey is added to the mead before bottling. Now that the yeast can’t ferment out all the sugars, the added honey sweetness remains in the mead. We have aMead Backsweetening Kitthat includes honey. We also offer thePotassium Sorbatestabilizer on its own if you’d prefer to use your own honey.
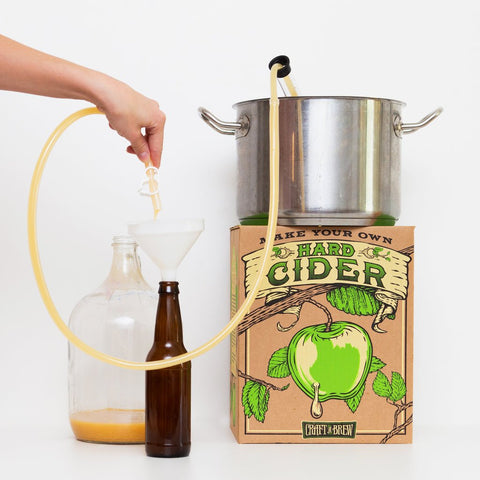
Mead Bottling Video Instructions
How to Make Delicious Mead from start to finish
Mead Accessories
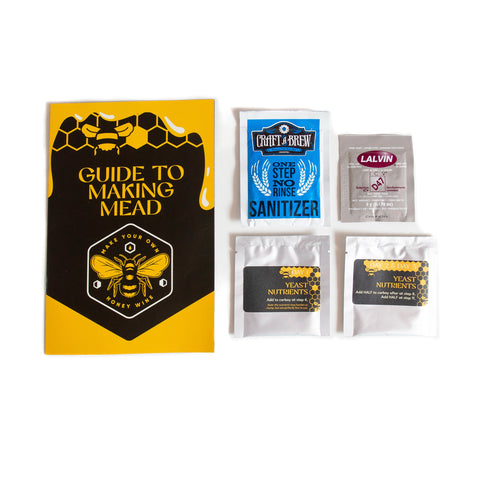

Our Guide to Making Mead
A step by step guide to fermenting and bottling your mead. Includes tips for making a sweet mead, a Melomel or a Cyser.
If you’re still stumped or don’t see your question answered above - email us at support@craftabrew.com. Don’t dump anything until we’ve connected. Including photos in your email will help us help you more efficiently.
