Making Apple Cider Vinegar: FAQs and Tips
Apple Cider Vinegar Making Kit Basics
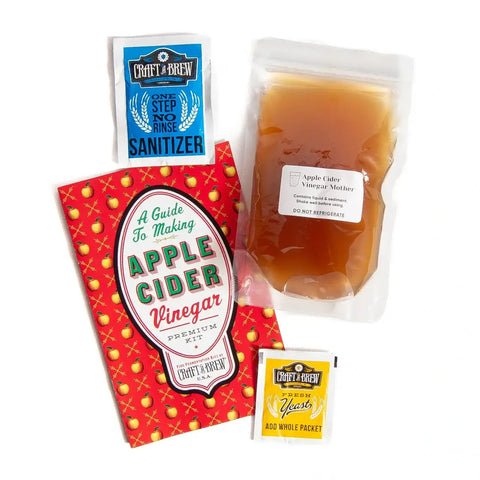
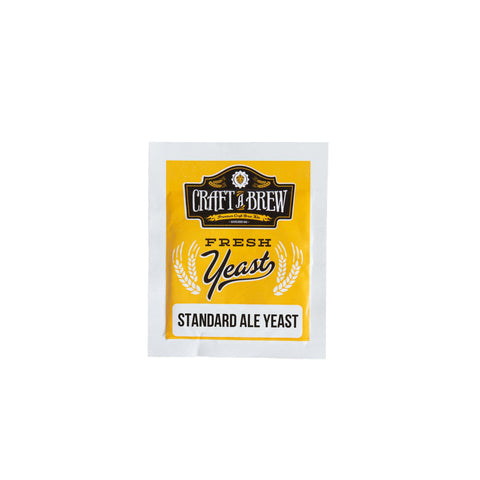
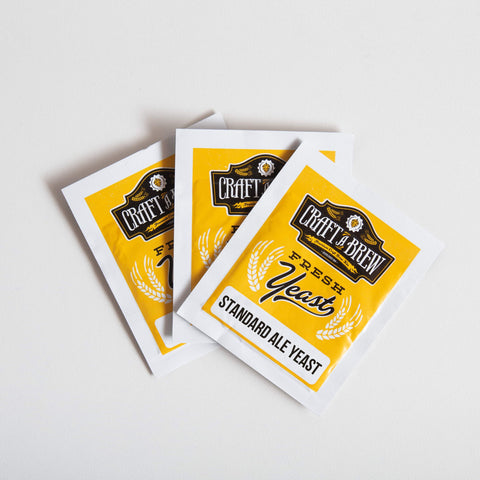
Apple Cider Vinegar is made by turning alcoholic apple cider into vinegar. There are 2 phases of fermentation: alcoholic fermentation (12 days) and vinegar fermentation (3+ weeks). First you’ll add yeast to apple juice to create a hard cider (yeast convert juice sugar into alcohol). Then you’ll add the “mother” to the hard cider to create vinegar (bacteria in the “mother” convert alcohol into acids).
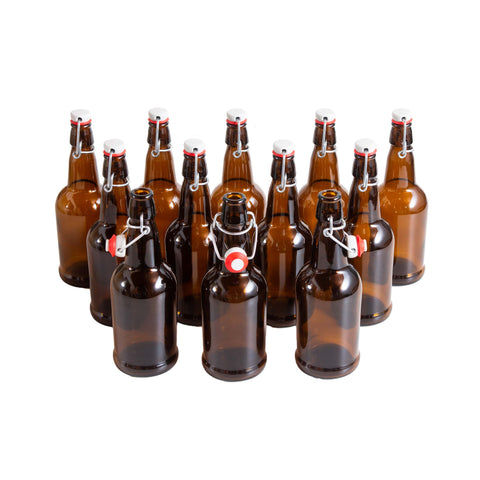
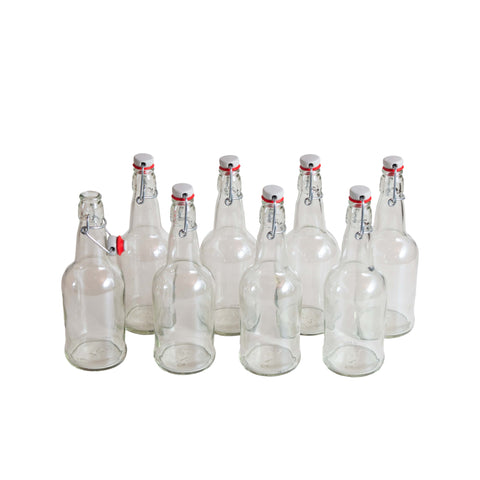
Our Apple Cider Vinegar Kit yields a gallon of ACV. You’ll reserve 1-2 cups of this gallon of finished vinegar to jumpstart the next batch, so you’ll be left with about 112-120 oz of finished vinegar. This fills about ten 12 oz bottles or eight 16 oz bottles.
You’ll need to source a gallon of apple juice. You’ll also need bottles for storing your finished ACV (roughly ten 12 oz bottles or eight 16 oz bottles). We recommend 16 oz flip top bottles, but you can use any glass, plastic or non-reactive container with a good seal. The equipment, the yeast & the vinegar Mother included in this kit are reusable for future batches! All you need is a gallon of apple juice each time.
This kit & recipe requires apple juice for alcoholic fermentation. Apple scraps (skins & core) don’t provide enough fermentable sugar for the yeast. You need enough sugar in order to ferment a ~5% ABV hard cider, which apple juice delivers!
Yes! The Mother is safe in its pouch at room or warm temperatures. It is okay if the kit is delivered in your mailbox or porch in warm weather. If the Mother arrives cold or frozen in the winter, keep it in its pouch & let it warm to room temp for 12-24 hours before using.
All you need to start your 2nd batch of ACV is another gallon of apple juice and some sanitizer to clean your equipment. You can re-use both the yeast & the vinegar “mother” included in the kit. Our instructions show you how to harvest and reuse the yeast, but you can use fresh yeast instead if you prefer. You’ll reserve 1-2 cups of vinegar before bottling each batch - this is vinegar “mother” for your next batch!
Fermentation Questions
During vinegar fermentation, a filmy jelly-like layer may form at the surface of the liquid. This is called a pellicle & is totally normal! Similar to a kombucha SCOBY, this layer develops during fermentation. It’s made of cellulose, yeast & bacteria (the good kind). You can harvest, store & re-use this pellicle along with fermented ACV for future vinegar fermentations!
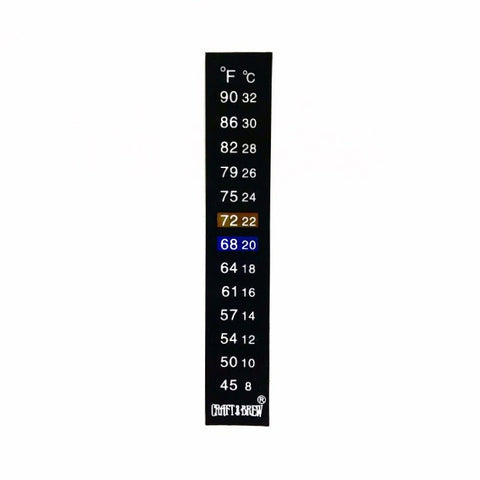
It’s important to maintain fermentation temperatures between 68-75ºF. We recommend using a fermometer, an adhesive thermometer for your jar. If you’re making ACV in a cooler environment, consider a heat wrap to maintain warmer temperatures. You can also wrap a towel or sweater around the jar to insulate it. Be sure to keep the jar off of cold surfaces, like stone, metal or concrete, which can bring down the temperature.
Bottling & Storage Questions
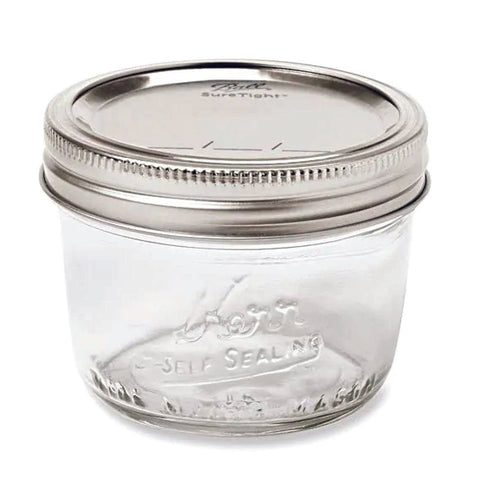
You’ll need roughly ten 12oz bottles (or eight 16oz bottles). Personally we love flip-top Grolsch style bottles, though we have a variety of Bottling Kits.You can also re-use or recycle flip top beer bottles or use mason jars!
It’s highly recommended that you bottle your ACV. Storing in ~12-16 bottles, out of direct sun and in a relatively cool room temp location, will preserve the flavor & slow down the aging process. Storing your entire batch of vinegar in a large container means you’ll open/close it often, introducing oxygen each time. Over time, oxidation can degrade the flavors and can encourage the vinegar to continue aging in storage (becoming more acidic and tart).
Sediment is totally normal and it’s even beneficial. Sediment is considered part of the collective vinegar Mother, which includes previously fermented vinegar, sediment and pellicle.
Your vinegar is fine to store in sealed bottles at room temp. We suggest enjoying within 3 months. Beyond 3 months, vinegar can be stored in the fridge to help retain flavors.
Your vinegar is fine to store in sealed bottles at room temp. We suggest enjoying it within 3 months. Beyond 3 months, vinegar can be stored in the fridge to help retain flavors.
All you need to start your 2nd batch of ACV is another gallon of apple juice and some sanitizer to clean your equipment. You can re-use both the yeast & the vinegar “mother” included in the kit. Our instructions show you how to harvest and reuse the yeast, but you can use fresh yeast instead if you prefer. You’ll reserve 1-2 cups of vinegar before bottling each batch - this is vinegar “mother” for your next batch!
Our Guide to Making Apple Cider Vinegar
New to vinegar fermentation? Learn how to make Apple Cider Vinegar with our easy to follow instructions. We’ll walk you through each step of the process, from alcoholic fermentation, to vinegar fermentation to harvesting your ingredients for future batches!
If you’re still stumped or don’t see your question answered above - email us at support@craftabrew.com. Don’t dump anything until we’ve connected. Including photos in your email will help us help you more efficiently.
