
Making Kombucha - FAQ
Looking for Kombucha frequently asked questions? We’ve got answers. Curious whether your SCOBY looks normal? Wondering why carbonation is falling flat? Find fast answers to kombucha frequently asked questions. If you don’t see your question answered here, contact us at support at craftabrew.com.
Our AI Chatbot is loaded with over a decade of homebrewing expertise to give you instant, reliable answers—so you can stay focused when timing matters most. Whether it’s your first batch or your fiftieth, you’ll get expert help in seconds. And if your question needs a human touch, our team is just a message away to help with more advanced fixes.

Scobys
A SCOBY is a “Symbiotic Culture Of Bacteria & Yeast.” This culture is reusable and will help you brew countless batches of kombucha. We grow each SCOBY from scratch, so your fresh grown SCOBY will vary in appearance, color, thickness, texture, etc. It will grow larger to fit your fermenter & change texture, color, thickness, etc. as you continue brewing kombucha.YEP! Your SCOBY is safe in its pouch during transit. It’s okay to sit in your mailbox or on your porch in warm weather if you’re unable to bring it indoors right away. If the SCOBY arrives frozen in the winter, keep it in its pouch & set it on your counter for a day or 2 so it can warm up to room temperature before brewing. It’ll bounce back!
NOPE! The SCOBY’s position inside the jar doesn’t matter - it may sink, float or hover somewhere in the middle. Your “mother” SCOBY may sink to the bottom while a new SCOBY grows at the surface. Your SCOBY may even tilt sideways. A change in position is simply an indication that the temperature has changed. This does NOT mean the SCOBY is dead or defective. Be sure to keep your kombucha fermenting between 70 - 85 *F to keep your SCOBY happy.
Probably not. SCOBYs always look pretty strange, even when they’re perfectly healthy! If you’re concerned by the appearance or worried there might be mold - DON’T DUMP IT! Email us a photo at support@craftabrew.com so we can advise. In most cases, it isn’t mold.
Mold growth is quite rare, but can happen. Normal SCOBY formations can look odd, but don’t assume it’s mold! Mold will look like what you’d find on bread - white/blue/green round spots.
Healthy Scobys
This is yeast! It’s actually a good sign & means fermentation is strong.
This is just a new SCOBY developing! A new SCOBY can appear patchy, thin, milky or bumpy as it grows. With some time & patience you’ll find that the SCOBY thickens up and fills out.
This is just yeast, which grows underneath the SCOBY, that you can see through a thinner part of the culture. These dark brown, green, blue or orange spots are usually just a clump of yeast or a trapped air bubble.
Your SCOBY will grow larger or grow new layers with each fermentation. Sometimes these layers can fold on themselves and may not always lie flat. Sometimes clumps of brown yeast can float to the top, too.
Air bubbles are totally normal - they can be caused by a change in temperature, but are usually the result of natural CO2 above or below the culture.
Unhealthy Scobys
Mold on a SCOBY will look like spores on a moldy loaf of bread. If your SCOBY has developed mold, it’s typically caused by:
- Fermenting at too cold a temperature. If the temperature in your house dips below ~70 *F for an extended amount of time, your kombucha will be more susceptible to mold.
- Exposing the SCOBY to hot tea. Make sure you let the sweetened tea cool before it comes in contact with your culture. Scalding the culture leaves it weaker & mold-prone.
- Fermenting near plants, produce or waste bin. Airborne spores from these sources may contaminate your batch. Be sure to ferment away from other fermentation projects, too.
- Using fruit or other juices during fermentation instead of waiting until bottling. You should never expose the SCOBY to fruit, juice, herbs, spices, etc., which contain wild yeasts that can contaminate the SCOBY.
- Not reserving enough starter tea between batches. Be sure to use 1 - 2 cups of starter tea with each batch. The acidity of this starter tea is crucial to the health of your booch. It helps bring the pH of the batch down quickly, which creates an acidic environment that protects against mold.
You can use anywhere from 1 to 3 SCOBYs to ferment your kombucha, but if your jar’s getting crowded you’ll need to downsize.
If a SCOBY has grown too many layers or has become thicker than 2”, it’s time to trim it. Thick SCOBYs can prevent air flow, ferment your kombucha too quickly and throw off the yeast & bacteria ratio.
If the SCOBY peels apart into layers easily, peel off the oldest under-layers - they’ll usually be darker - and discard. SCOBYs are compostable. If the SCOBY has solidified into one thick layer and does not peel easily, you may need to cut it in half (like a half moon). You can ferment with one of the halves & a new SCOBY will eventually grow to fit your jar.
You can use extra SCOBYs to expand your kombucha brewery or gift one to a friend. Source another1 gallon jar&cloth (orelastic cover) to double your yield. You’ll need at least 1 SCOBY & 1-2 cups of starter tea (fermented kombucha) to start a second fermentation station.
Once you bottle your kombucha your SCOBY can stay floating in 1-2 cups of reserved starter tea (fermented kombucha) in the covered jar for up to 4 weeks before you need to brew again. You can start a new batch right away, too!
Remember, your SCOBY is alive and needs to “eat” to stay healthy. Brewing a new batch of kombucha provides the SCOBY with plenty of nutrients from tea & sugar. But if you need more time between fermentations, you can “feed” your SCOBY another way.
Dissolve ⅓ cup of sugar into 1 cup of hot black tea. Let cool completely before pouring into the jar with your SCOBY. This will buy you another 4 weeks if you’re unable to brew. This sweet tea will keep the SCOBY healthy & hydrated in the meantime.
Alcohol
No. Store bought and homebrewed kombucha do contain trace amounts of alcohol, which is a natural byproduct of fermentation. The ABV (alcohol by volume) averages less than 0.5%, which is comparable to a non-alcoholic beer.
During kombucha fermentation, the yeast & bacteria in the SCOBY work together to “self-limit” the alcohol. Yeast convert sugars into ethanol and the bacteria converts this ethanol into acids.
Our kombucha brewing process involves 2 phases: 1) fermentation for 7-14 days & 2) carbonation for 3-5 days in bottles. This process produces only a trace amount of alcohol.
In order to encourage alcohol production, you’ll need to ferment a second time (without the SCOBY) before bottling. Brewers yeast & more sugar are required to create alcohol. Check out a full how-to on Boochcraft’s blog.
Tea & Sugar
No. Refined sugar is crucial to kombucha fermentation. Turbinado or brown sugar are too difficult for the SCOBY to process. SCOBYs can struggle to process alternative sugars like coconut sugar, Stevia or honey.
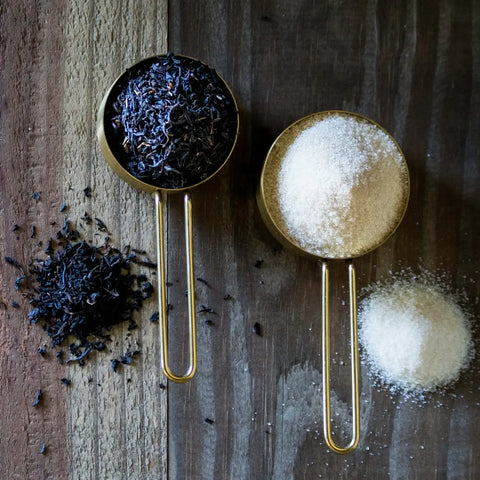
Our kit features 1 cup of organic cane sugar and we offer a tea & sugar refill, but you can also use plain white table sugar for future batches.
If you have concerns about sugar, remember: the sugar is for the SCOBY & not for you. The SCOBY converts sugars into acids, alcohol (trace amounts) & eventually into carbonation in bottles.
No. We don’t suggest reducing the amount of sugar because the ratio of tea to sugar is necessary for proper fermentation. Remember, the sugar is for the SCOBY & not for you. Plus, most of the sugar is converted into acids, alcohol (trace amounts) & carbonation during fermentation.
If you have concerns about sugar content, we have a few tips:
- You can reduce the sugar content by not adding fruit or flavors to your bottles & drinking it plain.
- You can ferment your kombucha closer to 14 days to ensure more sugar is fermented out. The longer your booch ferments, the lower the sugar content. As fermentation continues, more sugar is fermented out.
Generally, black tea is the best tea for kombucha fermentation. Our Kombucha Kit uses 6 tsp caffeinated loose-leaf black tea. We offer tea & sugar refills, but you can certainly use bagged black tea (6 bags).
Kombucha needs caffeinated tea (black, green, oolong, etc.) because it provides tannins & nutrients for fermentation. Black tea contains the most tannins, which is why it’s our preferred tea for kombucha. Without tannins & caffeine, your SCOBY can grow weak and eventually die.
You can use a combination of black & green tea if you’d like. But black tea is recommended for your first few batches - it helps build a strong starter tea & healthy SCOBY.
You should not use herbal teas (peppermint, chamomile, dandelion, etc.) because these don’t contain any actual tea - “cameillia sinensis” - or caffeine. Herbal teas can also contain unwanted oils that can weaken the SCOBY and lead to mold growth.
You should avoid using any flavored teas (Earl Grey, Masala chai, etc.) because the flavors, spices or fruit in these teas can harm the SCOBY. Flavors, spices, fruit, juice, herbs, etc. should never come in contact with the SCOBY & should only ever be added to bottles.
Maybe you were bottling and forgot to set aside 1-2 cups of starter tea. Maybe your starter tea mostly evaporated between batches. Either way, you can’t brew kombucha with just a SCOBY. The starter tea is quite possibly MORE important than the SCOBY. Here are 2 tips for replenishing your starter tea:
- Buy a bottle of plain, raw, unflavored kombucha from the supermarket. Starter tea is just previously fermented kombucha, so a plain bottle of booch will get the job done in an emergency! Add 2 cups to your SCOBY & voila!
- Try this tip NOW to save yourself in the future. When you bottle your next batch of kombucha, leave one plain and unflavored (no fruit, spices, etc.). Store this in the fridge right away - no need to carbonate - as emergency starter tea!
Fermentation (Temp & Timing)
There are 3 clear signs that your kombucha is fermenting properly:
- It will taste & smell more tart (usually around day 10-14, but may take longer)
- The tea will become lighter in color
- A new layer of SCOBY forms at the surface
If you’re not observing these signs in your batch it could be due to cold fermentation temperatures. Try relocating to a warmer room or insulating with a blanket or towel.
Per our instructions, you need to reserve 1-2 cups of starter tea (fermented kombucha) - this is the foundation of your next batch. You’ll just need to source more caffeinated tea & sugar. We offer a tea & sugar refill, but you can also source your own.
You’ll need 1 cup of cane sugar or white table sugar & 6 tsp loose (6 bags) of black tea. Just follow our brew day instructions.
Whether you’re running out of room in your fridge, plan on travelling or just need a break, you can put a pause on your kombucha.
Just remember, your SCOBY is alive and needs to “eat” to stay healthy. Usually once every 4 weeks, the SCOBY will need more nutrients. Brewing a new batch of kombucha provides the SCOBY with plenty of nutrients from tea & sugar. But if you need to take an extended break, you can “feed” your SCOBY another way.
Dissolve ⅓ cup of sugar into 1 cup of hot black tea. Let cool before pouring into the jar with your SCOBY. This will buy you another 4 weeks if you’re unable to brew and it will keep the SCOBY healthy & hydrated in the meantime.
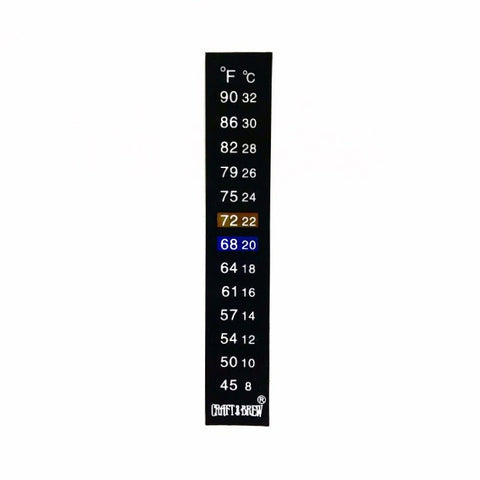
VERY! Unlike beer or wine, which require cooler, more moderate fermentation temperatures, kombucha likes it WARM! The recommended range is between 70 - 85 *F. Temperatures below ~68 *F can slow down the fermentation process (meaning it might take 3 weeks to ferment your booch). Cold temperatures also leave a SCOBY more susceptible to mold growth. This is because the active yeasts will become sluggish or go dormant. If the yeast isn’t actively fermenting, it leaves room for other bacteria/yeast to infiltrate. Temperatures above 85 *F can also negatively impact your booch. The yeast will become overactive and will ferment your kombucha too quickly, creating a super tart, vinegary booch.
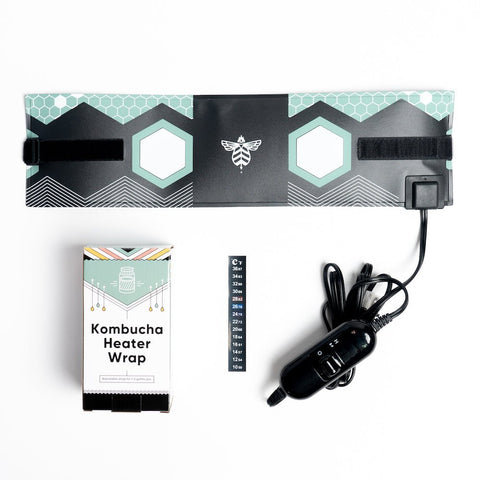
A fermometer is a helpful temperature monitoring tool. This adhesive thermometer helps you keep tabs on the fermentation temps at all times.
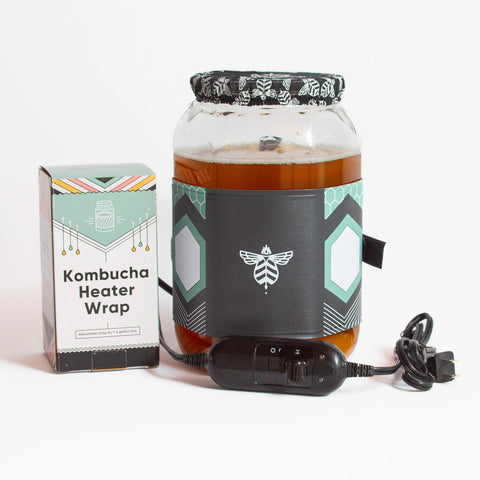
We recommend using a heat wrap to maintain an ideal fermentation temperature. Alternatively, you can insulate the fermenter with a towel, blanket or old sweater to boost the temperature.
Place the fermenter in a room closest to the center of your home, away from exterior walls or windows. Place the fermenter on a shelf or the 2nd story of your house (heat rises)! Be sure to avoid setting your fermenter on cold surfaces, concrete floors, etc. You can place a towel, book or cutting board underneath the jar to create a barrier.
If your booch ferments for too long it can turn into kombucha vinegar. Once it becomes vinegar, unfortunately there’s no way to reverse this process.
If it’s been just over 14 days, your kombucha is likely still fine to bottle - your tastebuds are the best indicator. If it’s too vinegary, your kombucha may be too far gone. But if you like the taste, you can bottle it.
Don’t dump your kombucha vinegar - it isn’t worthless! It will make excellent, strong starter tea for your next batch. Reserve 2 cups and start fresh with a new fermentation. If you have nearly a gallon of kombucha vinegar, you can bottle some of it & stash in your fridge to use in case you run out of starter tea in the future.
You can also use this excess starter tea to expand your kombucha brewery. Source another 1 gallon jar & cloth and measure out 2 cups of the “kombucha vinegar” to start a 2nd fermenter.
Kombucha vinegar can also be used like other vinegar - for salad dressing, cleaner, etc.
Bottling & Carbonation
Bottling is often referred to as a “second fermentation” because your kombucha does undergo another fermentation in bottles. The difference is, you seal the kombucha in bottles to trap the natural CO2.Your tastebuds are the best tool for determining whether your booch is ready to bottle. Your kombucha will need to ferment for a minimum of 7 days. Depending on other factors, like temperature, how strong your starter tea is, etc., your kombucha may need closer to 14 days to completely ferment. Your first few fermentations will benefit from a longer fermentation (closer to 14 days) to help build a strong starter tea.
You should taste your kombucha with a clean spoon on day 7. It’ll likely be quite sweet, but if you like the flavor at this point you can move on to bottling. If you prefer your kombucha more tart, continue fermenting & tasting daily until it’s just right. The longer you ferment, the more tart it’ll become.
You can also use pH test strips to track your kombucha’s progress. These are NOT required for brewing, but tracking the pH can help you better understand fermentation. A pH reading won’t tell you that your kombucha is “done,” but it will tell you how acidic it is. We recommend using pH strips as you taste your kombucha throughout fermentation. Make note of the pH reading & your tasting notes and you’ll begin to determine your preferred pH level & brew consistent kombucha every time. The “ideal” pH range for ready-to-bottle kombucha is between 2.5 - 3.5, but your tastebuds are the best indicator of when it’s time to bottle.
NO. We do not recommend using mason jars to bottle & carbonate your kombucha. They don’t provide an airtight seal, which leads to inconsistent & weak carbonation. Also, we advise against contact with metals (like mason jar lids & seals).
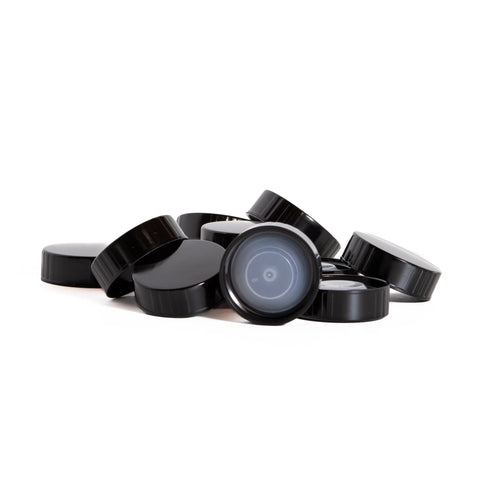
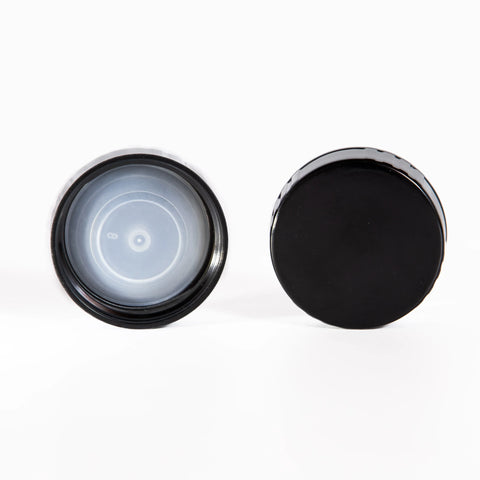
For the most consistent carbonation, we recommend our Kombucha Bottling Kit, which includes eight 16oz glass bottles & airtight twist-off caps.
Swing top bottles are also a great option. In a pinch you can also reuse store bought kombucha bottles (like GT’s, etc.) The caps on these bottles aren’t intended for reuse, so you may find that the seal is not as tight, which will require a few extra days of carbonation to get the fizz just right.
Yes & no. We strongly encourage you to bottle your kombucha. This helps lock in the flavor and is the only way you can carbonate your booch. Kombucha only develops trace amounts of bubbles during fermentation, so it’ll be flat unless you bottle it.
If you prefer your kombucha still (flat), you should still bottle it. You’ll immediately place the bottles in the fridge instead of letting them carbonate at room temperature.
We don’t recommend that you leave the kombucha in its fermenting jar and serve yourself or pour a glass from the jar. If left at room temperature, the kombucha will continue to ferment and become more tart, eventually becoming actual kombucha vinegar.
There are a few reasons why the carbonation is weaker than you’d like:
- The bottles just need more time. The yeast in your kombucha needs time to convert the sugars into CO2. Be sure bottles carbonate at room temperature - cold temps will inhibit the carbonation process.
- You didn’t add fruit. Booch will carbonate quicker with natural sugars added, which serve as fuel for the yeast to create CO2. Whole, juiced, pureed, chopped, fresh, dried or frozen fruit will work. Need ideas? Check out our blog post with 18 kombucha recipes.
- Bottles have too much headspace. More headspace extends the carbonation timeline. You need to leave some space, but make sure bottles are sufficiently topped off for the best results.
- The bottles are too cold. Kombucha won’t carbonate in the fridge or a cold basement. The cold temperatures will make the yeast sluggish and slow to carbonate. If you “burp” a bottle and don’t hear a hiss, it may need to continue carbonating in a warmer area.
We recommend swing-top bottles or our Kombucha Bottling Kit, which includes eight 16oz bottles and reusable twist caps.
You can reuse store bought kombucha bottles (like GT’s, etc.) The caps on these bottles aren’t intended for reuse, so you may find that the seal is not as tight, which will require a few extra days of carbonation to get the fizz just right.
We do NOT recommend using mason jars or plastic bottles to carbonate your kombucha.
You should enjoy your kombucha within 6 months of bottling for the best flavors. Once sufficiently carbonated, bottles should be kept in the fridge to lock in the carbonation. Do not store bottles at room temp after they’ve carbonated, otherwise CO2 and pressure will continue to build and you could end up with a bottle bomb. Once carbonated, kombucha should stay refrigerated - just like store bought kombucha.
A bottle bomb can happen when kombucha is stored at room temperature for too long or if too much sugar/fruit is added to the bottles. Once bottles are sufficiently carbonated, they should be stored in the fridge to lock in the carbonation. If left unattended at room temp, bottles will continue to develop CO2 and build up too much pressure. Always handle bottles with care (do not shake them). If a bottle does explode, you should immediately (& gently) place all remaining bottles in the fridge to halt the carbonation process. When opening these bottles, exercise caution. It’s best to do so over the sink or a large bowl to catch any potential foam. Open the bottle slowly and keep a towel or plastic bag over the bottle to prevent a mess.
Kombucha Accessories


Our Guide to Brewing Kombucha
A user-friendly guide to homebrewed kombucha. Includes tips for choosing flavors, bottling & starting your next batch.
If you’re still stumped or don’t see your question answered above - email us at support@craftabrew.com. Don’t dump anything until we’ve connected. Including photos in your email will help us help you more efficiently.
